- +86-13775339109
- Jessica@nq-fiberglass.cn
- No 61 Fangxian, Danyang, Jiangsu
Drywall tape bubbles occur when there’s air underneath the tape or the compound isn’t adhering well to the drywall. Typical causes are inadequate prep of the surface, too little or too much joint compound, or taping over wet mud. In this guide, we’ll walk you through how to repair drywall tape bubbles by removing any loose tape, cleaning the area, and reapplying joint compound and tape to achieve a flawless, professional-looking finish.
Table of Contents
ToggleWhy Drywall Tape Bubbles pop up often, even for the seasoned. These bubbles, which are sometimes referred to as blisters, give your wall a rough appearance and can result in fragile areas. They occur primarily due to minor errors when installing. The tape is typically paper, so it responds to both moisture and air. Awareness of the cause of these bubbles can assist any drywall worker in achieving a cleaner finish.
Lack of mud underneath the tape is the primary culprit. Without sufficient mud, the tape is unable to adhere snugly to the drywall. A thin or patchy coat leaves gaps, and these gaps allow air to get caught under the tape. For maximum success, leave a bed of mud about 6mm thick (around a quarter inch) at the seam before you lay the tape down.
If the mud is too thin—less than 4mm (1/6 inch)—the tape will not adhere properly, which allows bubbles to form. Key is applying just enough mud. Too much mud can be an issue too, as a thick layer not only takes longer to dry, but can shrink unevenly, pulling the tape away from the wall.

A dry or stiff compound won’t bond well to the surface or to the tape. If the mud dries before the tape is set, it loses its grip! This could occur if you mix the compound in advance and wait too long to use it, or if the atmosphere in the room is especially dry.
A dry compound tends to pull away from the wall when you press in the tape. The tape sits on top of the dried mud, not in it. This creates a void where air becomes captured. Always stir up new compound and apply it in good time. Keep it covered when you’re not working, so it remains moist.
When the tape doesn’t adhere properly, bubbles appear after the first or second coat. Dampening the tape prior to application can help prevent bubbles. The wet tape creates a superior seal, particularly with a wet compound.
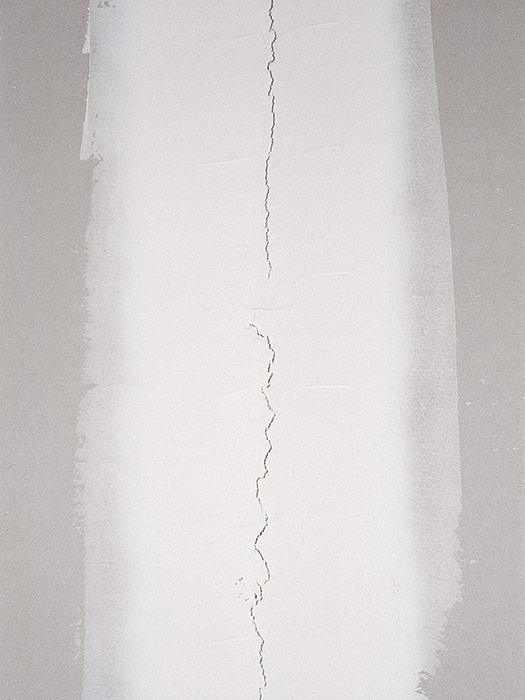
Air pockets under your tape are yet another major culprit of bubbling. When you embed the tape in mud with a taping knife, air can get trapped if you don’t apply enough pressure or if you’re too quick. These air pockets grow as the mud dries and shrinks, increasing the size of the bubble.
On your second coat, the tape can soak up even more water and bubble, letting more air inside. This is why bubbles pop up after you apply the second coat of compound. Even pressure and a smooth motion when pressing the tape can assist in keeping air out.

Drywall dust doesn’t allow the mud to stick. Even a fine layer of dust or debris can prevent the tape from achieving a solid grip. This creates weak spots and bubbles. Just be sure to wipe off the surface before taping.
If you forget to clean the wall-bubbles will appear later on. A quick pass with a damp cloth or sponge can really make a difference. Clean surfaces assist both the mud and tape in adhering better.
Sometimes, the dust from sanding seams or cutting boards nearby. Attempt to complete all sanding and clean up prior to taping. Less dust, fewer problems.
A clean wall provides the tape the best opportunity to remain flat.
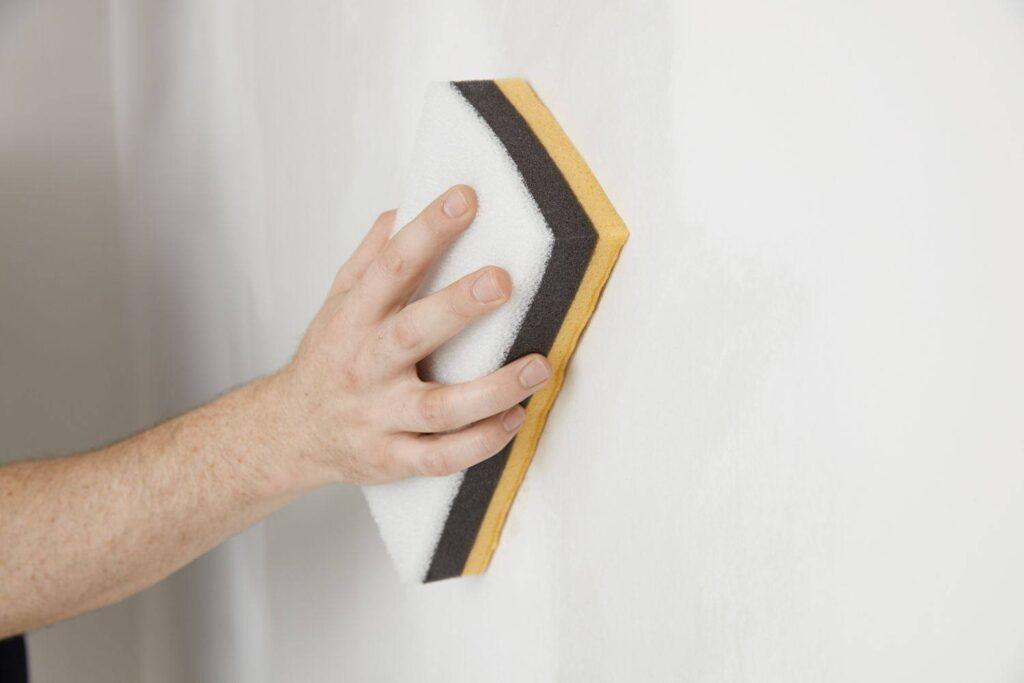
Room temperature and humidity levels affect mud and tape bonding. Too much humidity, and the mud won’t dry fast enough, causing it to sag or the tape to bubble. Low humidity or high heat dries the compound too quickly, causing it to shrink or lose adhesion.
Drafts from open windows or fans can cause the mud to dry unevenly. This can cause bubbles to form in areas where the compound separates from the tape. Maintaining a constant environment with moderate humidity in the workspace minimizes these hazards.
To fix drywall tape bubbles effectively, you’ll need the right tools and materials. Having everything ready will make the process faster and ensure a clean, professional result. Here’s what you should prepare:
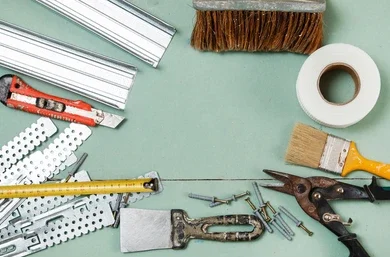
Joint Compound (All-Purpose or Topping):You’ll need joint compound to re-bed the tape and finish the surface. All-purpose compound works well for embedding tape, while topping compound is smoother and easier to sand—ideal for the final coat.
Drywall Knife (6–12 Inch):A drywall knife is essential for spreading compound and flattening the tape. Use a smaller 6-inch knife for tight spaces and initial coats, and a wider 10–12 inch knife to feather edges and blend the surface.
Utility Knife or Razor Blade:You’ll use a sharp blade to cut out bubbled tape cleanly without damaging the surrounding drywall. Precision here makes your patch look seamless after repair.
Sanding Sponge or 120–150 Grit Sandpaper:After the compound dries, you’ll need to sand the area smooth. A sanding sponge is easy to handle, while 120–150 grit sandpaper provides the right balance between cutting power and surface control.
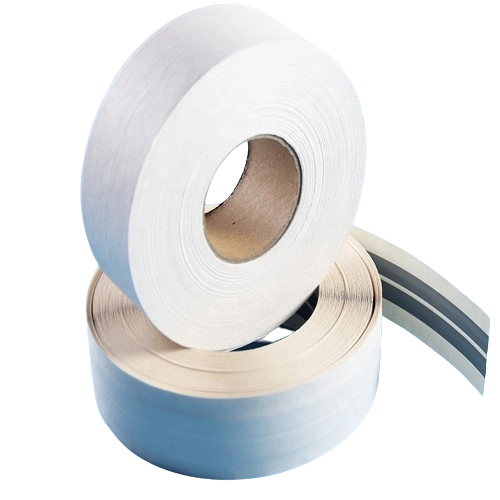
Drywall Tape Options:Choosing the right tape affects finish quality, joint strength, and ease of repair.
• Paper Tape:Paper tape is thin and provides a smooth matte finish. It folds neatly for corners but requires a layer of joint compound underneath. Proper embedding is critical to avoid air pockets and bubbles. Always overlap tape edges about 1 cm (½ inch) to prevent cracks and peeling. Avoid applying additional compound before the previous coat dries (usually 24 hours) to prevent bubbles and bare spots.

• Fiberglass Mesh Tape:Fiberglass mesh tape is self-adhesive and faster to apply since it sticks directly to the wall without a base coat of compound. However, it’s thicker and can show through thin compound coats, causing texture issues if not properly covered. It’s ideal for flat seams but not flexible enough for corners. Always overlap strips at least 1 cm to avoid seam splitting or lifting.

• Other Tape Options:Some tapes include metal strips for extra corner strength, great for high-impact exterior corners. Others combine paper and mesh but still require careful mud application to avoid bubbles.

Drywall tape bubbles will appear either during installation or after the compound dries. These bubbles occur when the tape doesn’t adhere well to the wall or you use too much or too little compound. Fixing bubbles is about more than just concealing them. It’s about ensuring the finish maintains a smooth, even appearance.
Begin by inspecting the entire drywall surface to locate any bubbling tape. Walk around the room and examine all seams and corners, where bubbles tend to form most often. Use a pencil to lightly mark any raised or blistered areas. Identifying all the problem spots early will help you avoid missing hidden bubbles during the repair process.
Use a sharp utility knife to cut along the edges of each bubble. Carefully lift the damaged tape section, avoiding harm to the drywall underneath. Remove only the bubbled portion while keeping your cuts clean and controlled. This allows for easier blending when you apply the new tape.
Once the tape is removed, sand the exposed surface using a sanding sponge or 120–150 grit sandpaper. Focus on creating a level and even base so the new tape can bond properly. Avoid sanding too deeply, which could damage the drywall core or cause unevenness.
Using a drywall knife, apply a smooth, thin layer of joint compound over the sanded area. Extend the compound slightly beyond the damaged section to ensure the new tape will have full support and blend naturally with the surrounding surface. Smooth the compound as evenly as possible.
Cut a new piece of drywall tape to fit the repair area. Press it firmly into the wet joint compound, aligning it carefully with the seam. Use the drywall knife to smooth the tape from the center outward, pushing out any air pockets to prevent future bubbling.
Once the tape is set, apply a second thin coat of joint compound over the top. Feather the edges out to blend with the wall surface. Let this layer dry completely before adding a third if needed. Multiple thin coats help build a strong, invisible finish.
After the compound is fully dry, sand the repaired area gently until it’s flush with the rest of the wall. Blend the edges carefully so there is no visible transition. Wear a dust mask while sanding to protect yourself from airborne particles.
Apply a final coat of joint compound over the repair, feathering the edges once more for a seamless finish. Let it dry completely and give it a final sanding. Once completed, your surface will be ready for priming and painting, with no trace of the original bubble.
Drywall tape bubbles are prevented with mindful prep, the perfect mix and taping prowess. Everything counts, from the first step to the last.
To prevent air bubbles in drywall tape, make sure you apply a generous, even layer of joint compound before setting the tape. If there’s not enough compound underneath, air can get trapped and cause blistering. Use a drywall knife to spread the compound smoothly and consistently over the seam.
Choose high-quality drywall tape—either paper or fiberglass mesh—along with a smooth, well-mixed joint compound. Inferior materials are more likely to lift, tear, or allow bubbles to form beneath the surface. Investing in professional-grade supplies makes your finish cleaner and more durable.
Environmental factors can also cause drywall tape bubbling. If you tape in a humid room, excess moisture may interfere with adhesion. Dust and debris on the wall surface can prevent proper bonding. Always clean the wall before applying tape and avoid working in areas with poor air circulation or high humidity.
Rushing through the process can lead to mistakes and unsightly bubbles. Take your time to ensure that each step is done correctly and with precision. Patience during installation allows for careful attention to detail, resulting in a superior and long-lasting finish.
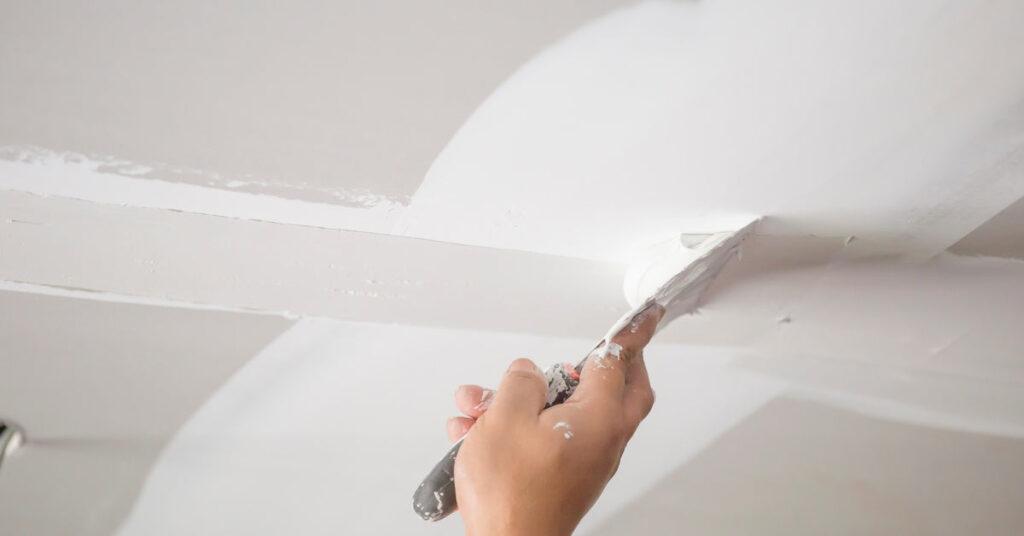
Dealing with bubbles in drywall tape can be frustrating, but with the right approach, tools, and the best drywall tape for the job, you can effectively eliminate them and achieve a smooth, professional-looking finish. Understanding the causes and following the step-by-step guide will not only help you fix current issues but also prevent them from occurring in future projects. Remember, patience and precision are key to a flawless drywall installation.
If you have questions or want to discuss your project, feel free to contact us via WhatsApp +86-13775339109, WeChat 13775339100, or email fiberglassmesh@hotmail.com. We’re here to assist you!
Contact us now to get the latest drywall tape brochure and start choosing the right drywall tape for your project.
Water is not the only cause of drywall bulging. The issue can arise if the material is not sufficiently fastened to the studs. If you notice bulging occurring where two drywall pieces meet or see the tape or compound cracking in lifting or cracking, the drywall was likely not secured with enough screws.
I always just use drywall mud. Smear some on the spot where the tape goes, then use a paint brush and smear more on the face of the tape as you push it back into place. A little daubing with the brush should blend it all back in.
Scrape or sand before you skim. Bubbles gone. I mix my mud really good and coat. Air bubbles are scraped before next coat.
Remove areas of paint separation (blisters) with sanders, brushes, or scrapers. Clean the exposed surfaces, sand them, and prime them with high-adhesive alkyd primers. Once the primers cure, re-paint the previously-bubbled surfaces following the blistering prevention guidelines below.
It is not uncommon for baked clay to have extra bubbles, but tools like sandpaper in 400 or 600 grit can reduce air pockets and leave small indentations. You can continue sanding the indentation until they disappear or become flat, then use 800 grit to smooth out the piece.
Number one – you can’t run wet tape through an automatic taper. Number two – it just makes it mushy and want to tear. And take forever to dry.
Not enough wet mud. Like mix the mud like sour cream, and make sure that paper tape is wet enough from the wet mud, and make sure to get the air bubbles out. This is one reason they make some tape boxes, that are filled with mud, and you can pull out the tape already coated with mud.
Exposure to excessive moisture, such as from leaks, flooding, or high humidity, can cause areas such as your ceiling and drywall to absorb water and swell. This can result in bulging or warping of the affected areas. Plus, mold can start to grow in as little as 48 hours.
The drywall tape needs to be installed correctly or else the tape has the chance of separating from the wall and creating drywall cracks. You will then have to replace the tape along with fixing the crack. If you need help fixing this issue, we have an article on how to repair drywall tape.
Nail pops are small bumps, cracks, or splits in the wall that occur due to a nail head protruding into the drywall. They’re more common in older homes that use large roofing nails in wall construction instead of drywall screws. But they can also occur in newer homes when drywall screws shift around in the wood frame.
Lastly, taping drywall mud also takes around 24 hours to dry. However, factors such as temperature and humidity can also affect the drying time.
Without tape, your walls become weaker and more prone to damage. This can result in dents, dings, and holes that are not only unsightly but also a headache to repair. If you think you can just slap some paint or wallpaper over untaped drywall and call it a day, think again.
The material that makes up drywall is strong and hard, but if it gets wet, it can lose its integrity, causing it to bow or warp. If the drywall isn’t installed correctly, it won’t have the support it needs and can begin to bow or change shape.