- +86-13775339109
- Jessica@nq-fiberglass.cn
- No 61 Fangxian, Danyang, Jiangsu
When you notice bubbles or blisters on your drywall tape, it can be frustrating. These little imperfections may seem harmless at first, but they can make your walls look uneven and unprofessional. The good news? You can fix drywall tape bubbles quickly, and prevent them from coming back. In this guide, you’ll learn why these bubbles happen, how to repair them step-by-step, and the tools and techniques you need for long-lasting results.
Whether you’re a DIY enthusiast or a professional contractor, following the right methods ensures smooth, flawless walls that look like they were done by an expert. Let’s dive in.
Drywall tape bubbles happen when the tape that seals the seams between drywall sheets doesn’t adhere properly. The result is raised areas or air pockets under the tape, which can become more visible after painting.
Here’s what causes them:
If you don’t apply enough joint compound (mud), the tape won’t stick properly. A thin or uneven layer leaves voids where bubbles can form. When you add a second coat too quickly, the tape absorbs moisture unevenly, causing bulges.
Tip: Always apply a uniform 1/6-inch layer of compound to fully embed the tape.
Air pockets under the tape are another common cause. If you don’t press the tape firmly while applying it, tiny bubbles get trapped, expanding as the compound dries.
Tip: Use a taping knife to smooth the tape from the center outward, removing all air pockets. Wetting the tape lightly before application helps it adhere better.
Even the cleanest walls can have dust that prevents the tape from bonding. Dust between the tape and drywall creates air pockets, which eventually turn into bubbles.
Tip: Wipe the surface with a damp cloth before taping to ensure a clean, debris-free surface.
“Bedding” means embedding the tape fully into the joint compound. If done incorrectly, bubbles will appear.
Tip: Press the tape evenly into the mud with a putty knife, smoothing out wrinkles and ensuring tight contact with the wall.
Humidity, temperature swings, or poor ventilation can interfere with drying. High moisture levels weaken adhesion, leading to blisters and bubbles.
Tip: Work in stable conditions and avoid applying compound in extremely humid or hot environments.
Having the right tools makes the job easier and ensures professional results:
Follow these steps to repair bubbled tape and achieve smooth, professional-looking walls.
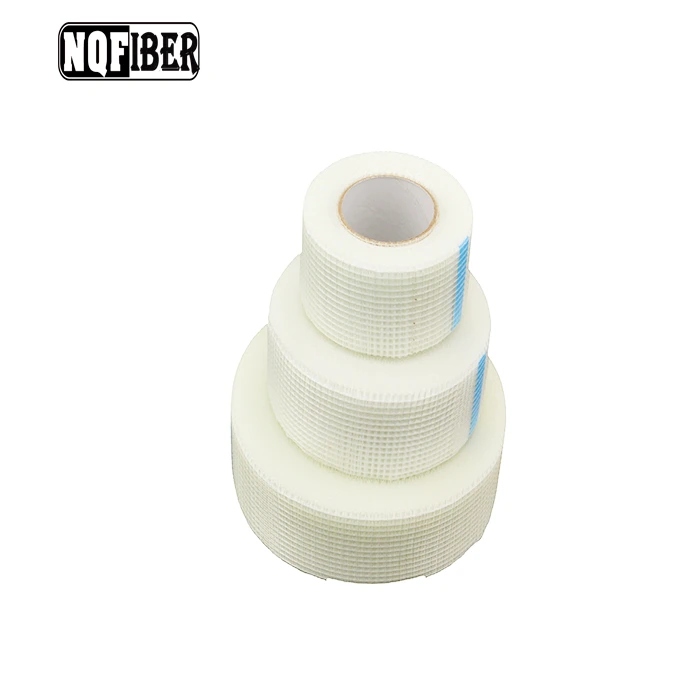
Both types of tape have pros and cons. Choosing the right one depends on your project:

Preventing bubbles is easier than fixing them. Here’s how to stop them before they start:
Sometimes, bubbles indicate deeper issues:
Repairing drywall tape bubbles is a doable DIY project with the right approach, tools, and patience. By understanding the causes — from poor application to moisture issues — and taking preventive measures, you can ensure smooth, flawless walls that last.
Whether you choose paper tape for a professional finish or mesh tape for convenience, the key is proper embedding, careful smoothing, and controlled drying conditions.

Connect with an NQ expert to discuss your product needs and get started on your project.
Contact Now