- +86-13775339109
- Jessica@nq-fiberglass.cn
- No 61 Fangxian, Danyang, Jiangsu
Table of Contents
ToggleIf you’ve got a crack or hole in your fiberglass boat, car panel, or roofing part, don’t worry—you can fix it yourself. A simple filler may cover the damage, but it won’t last. For a strong, professional, and long-term solution, you need fiberglass cloth repair. By combining fiberglass cloth with resin, you can create a reinforced fiberglass patch that restores real strength and durability.
This guide shows you exactly how to repair fiberglass using cloth. You’ll learn what tools to use, step-by-step repair instructions, common mistakes to avoid, and how professionals in the marine, automotive, and construction industries make their repairs last for years.
When dealing with fiberglass repairs, you have two main options: filler or fiberglass cloth.
Fiberglass filler is useful for small dents or cosmetic surface fixes. But under stress, water, or vibration, filler often cracks and fails.
Fiberglass cloth repair creates a true structural patch that bonds with the surface, distributing stress and restoring the original strength of the part.
Strength and reinforcement
Fiberglass cloth distributes load evenly across the repair area, preventing cracks from spreading and restoring structural integrity.
Durability in harsh conditions
It withstands water, heat, corrosion, and UV exposure, making it ideal for marine, automotive, and outdoor applications.
Lightweight solution
Fiberglass cloth adds strength without adding significant weight or bulk, preserving the original performance of the part.
Flexibility
The cloth can be cut and layered to fit any repair area, allowing precise reinforcement for holes, cracks, or weakened surfaces.
👉 If you want a repair that lasts, fiberglass cloth repair is the right choice.
For most projects, a combination of woven cloth for a smooth finish and chopped strand mat for added strength delivers the best overall result.

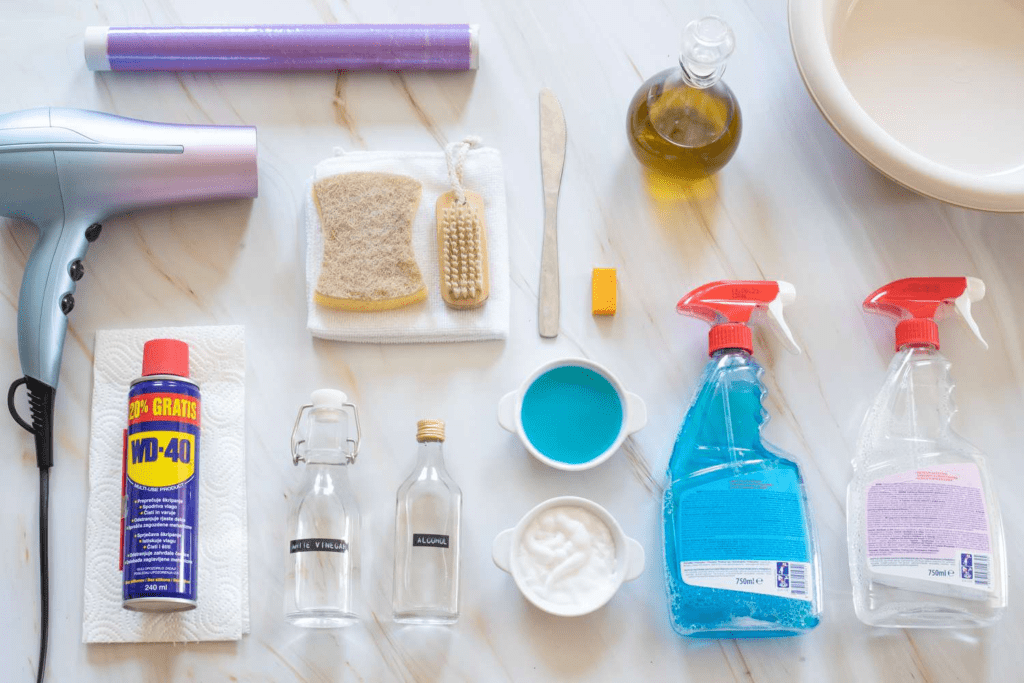
Repairing fiberglass with cloth may sound complicated, but when you break it down into clear steps, the process is straightforward. Here’s how to do it like a professional:
Start by carefully examining the fiberglass surface. Look for cracks, holes, or weakened areas that may extend beyond the visible damage. Mark the repair zone with a marker so you know exactly where to work. A proper assessment ensures you don’t miss hidden weaknesses that could cause future failure.
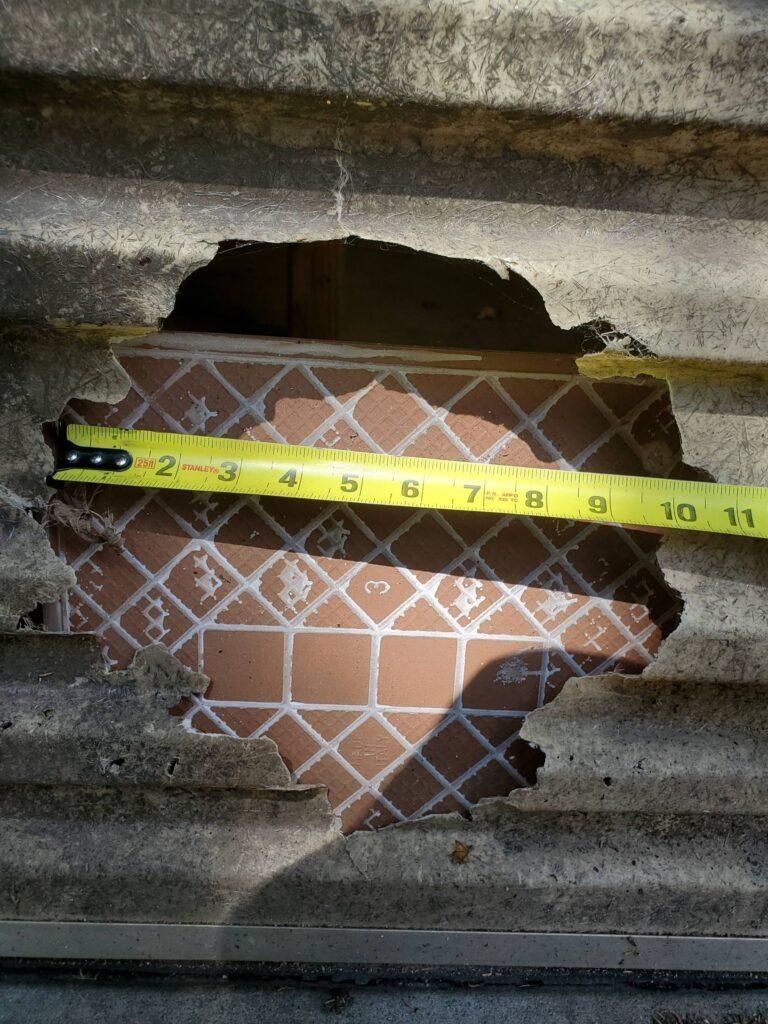
Surface prep is the foundation of a strong repair. Sand or grind away paint, gelcoat, rust, or old filler until you expose clean, bare fiberglass. This roughened surface gives the resin and cloth something to bond to. After sanding, clean the area thoroughly with a solvent cleaner to remove dust, grease, and contaminants. Mask off the edges with tape if you want a neat repair boundary.
👉 Pro tip: Never try to apply fiberglass cloth over a glossy or dirty surface.
Adhesion will fail, and the patch won’t last.
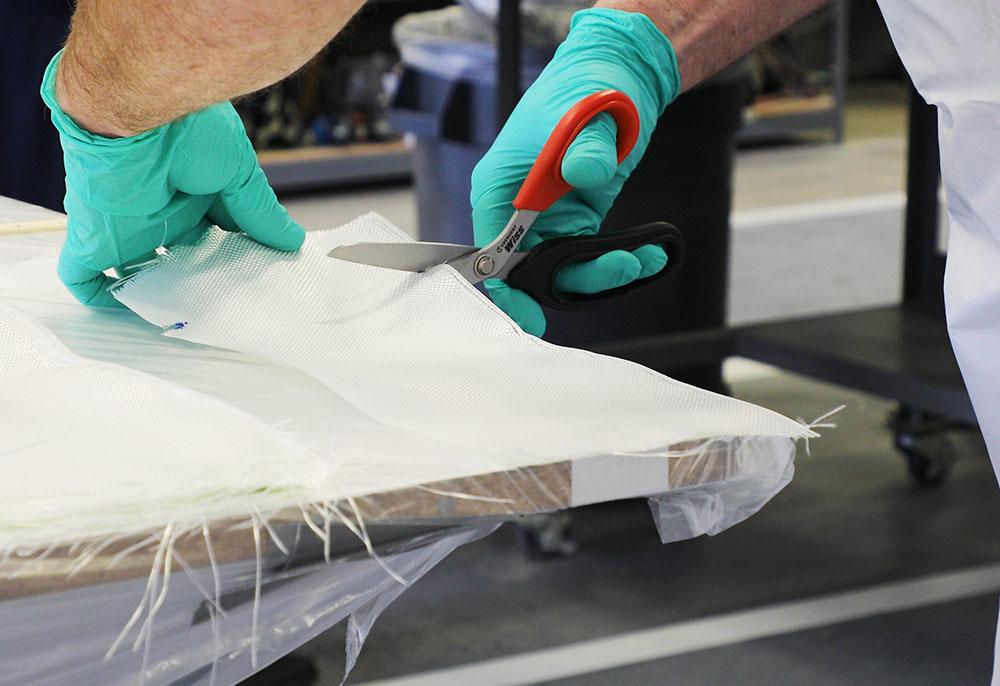
Using scissors or fiberglass shears, cut patches of fiberglass cloth slightly larger than the damaged area. Plan for at least two to three layers for small holes, and more for structural repairs. Each patch should be cut progressively larger, so the repair tapers smoothly into the surrounding surface.
👉 Pro tip: Always cut dry cloth before mixing resin. Once resin is mixed, time is limited.
Follow the manufacturer’s instructions carefully when mixing resin and hardener. Too little hardener will prevent curing; too much may cause the resin to cure too fast and become brittle. Work in small batches, especially if you are new to fiberglass repair, because resin starts curing as soon as it’s mixed.
👉 Pro tip: Mix only what you can use in 10–15 minutes to avoid wasting resin.
Brush a thin layer of resin onto the prepared surface. Place the first patch of fiberglass cloth over the area and press it gently into the resin. Use a roller or spreader to remove air bubbles and ensure full saturation. The cloth should turn transparent when it is properly wetted with resin.

Repeat the process with the remaining patches, applying resin and laying cloth one layer at a time. Each new layer should be slightly larger than the last to create a strong, feathered repair. Smooth out each layer with a roller to remove bubbles and avoid dry spots.
Pro tip: Don’t rush. Building up layers gradually creates a much stronger patch than trying to apply one thick layer.

Once all layers are in place, let the patch cure completely. Depending on the resin type and temperature, curing usually takes 12–24 hours. Resist the temptation to sand too early—working on a half-cured patch can weaken the repair.
After curing, sand the patched area with coarse grit to level it, then switch to finer grit for a smooth finish. Blend the edges into the surrounding surface so the repair is nearly invisible. For cosmetic projects like cars or boats, a smooth surface is essential before applying paint or gelcoat.
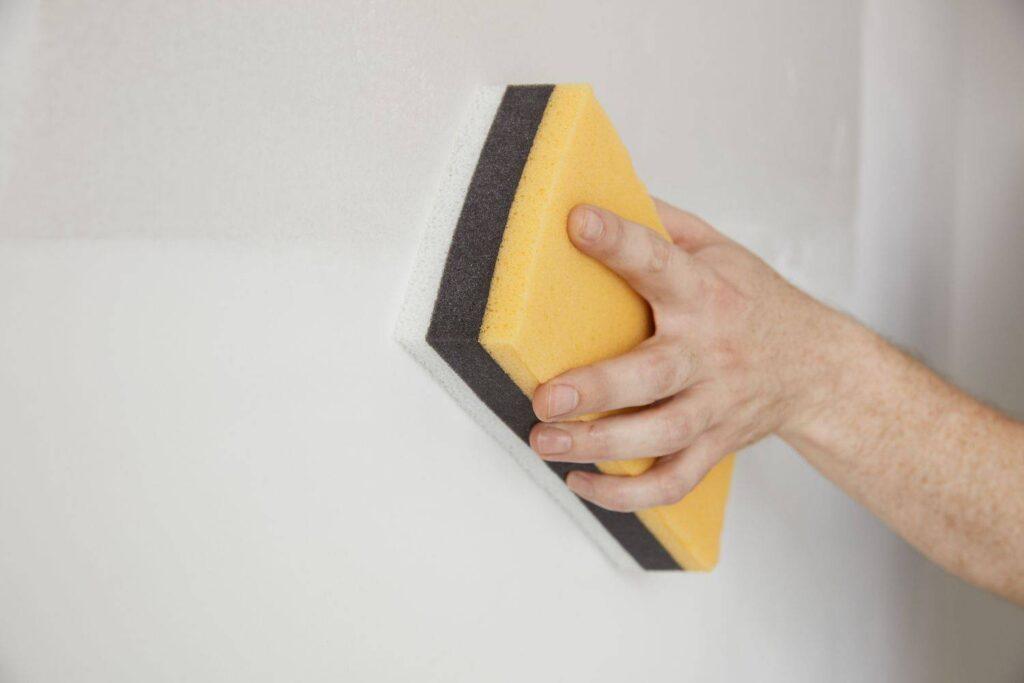
Seal the repair with a primer, paint, or gelcoat to protect it from UV rays, moisture, and abrasion. This step not only restores the original appearance but also ensures long-term durability.
👉 Pro tip: For marine applications, always finish with a UV-resistant coating to prevent degradation over time.
Skipping surface preparation – Always grind or sand down to bare fiberglass. If the surface is dirty, glossy, or covered in old filler, the new patch will not bond properly.
Not applying enough resin – Using too little resin leaves the fiberglass cloth dry and weak, which reduces the strength of the repair.
Using too much resin – Excess resin makes the patch brittle and prone to cracking under stress. The goal is full saturation without flooding.
Trapping air bubbles – Air pockets compromise strength. Always use a roller or spreader to press out bubbles and ensure a smooth, solid bond.
Applying too few layers – A single thin patch is rarely enough. For most repairs, at least two to three layers are required, with more added for structural reinforcement.
Rushing the cure – Patience is key. Allow the resin to cure completely before sanding, painting, or applying gelcoat to avoid weakening the repair.
Feature | Fiberglass Filler | Fiberglass Cloth Repair |
Strength | Cosmetic only | Structural reinforcement |
Durability | May crack under stress | Long-lasting under stress, water, and UV |
Applications | Small dents & scratches | Cracks, holes, stress-bearing areas |
Finish | Smooth, easy to sand | Needs sanding + coating |
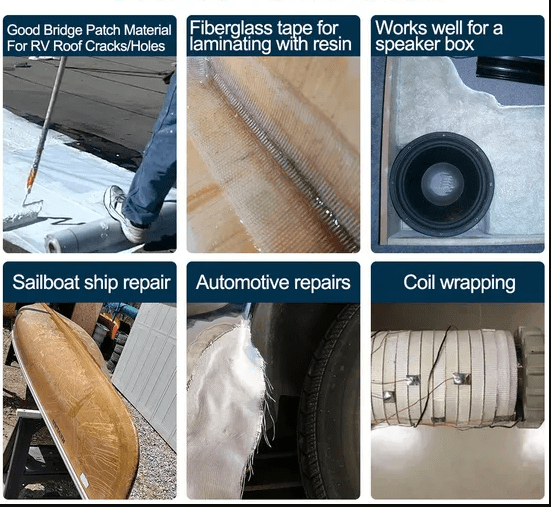
Fiberglass cloth is a versatile material that can be applied across multiple industries and repair scenarios. Its strength, lightweight properties, and durability make it a preferred solution for restoring damaged parts and extending service life. Some of the most common applications include:
Boat fiberglass repair
Fiberglass cloth is extensively used to fix hulls, decks, tanks, and even jet skis. Marine environments are harsh, with constant exposure to water and UV rays, and fiberglass cloth provides a reliable way to restore both strength and watertight integrity.
Car fiberglass repair
In the automotive sector, fiberglass cloth is used to repair fenders, bumpers, panels, and roofs. It helps reinforce structural parts, maintain aerodynamic shape, and provide a long-lasting repair that resists vibration and impact.
Construction fiberglass repair
In buildings and infrastructure, fiberglass cloth is applied to roofing, water pipes, wall panels, and structural reinforcements. It improves durability, prevents leaks, and strengthens surfaces that are exposed to stress and environmental wear.
Industrial fiberglass repair
Factories and plants often rely on fiberglass cloth to restore storage tanks, ducts, and machinery covers. It withstands chemicals, heat, and mechanical stress, making it ideal for heavy-duty industrial applications.
DIY fiberglass repair projects
Beyond professional industries, fiberglass cloth is also popular among hobbyists. It can be used to repair surfboards, strengthen furniture, or create custom hobby projects where a lightweight yet durable material is required.
Imagine hitting a rock with your fiberglass boat and cracking the hull. Filler might hide the crack, but water pressure will cause it to fail quickly.
Instead, by using fiberglass cloth repair:
Grind the crack and prep the surface.
Apply multiple layers of cloth with epoxy resin.
Cure, sand, and coat with gelcoat.
This repair restores full strength and keeps your boat safe on the water for years.
If you want a repair that lasts, skip the filler. Fiberglass cloth creates a reinforced patch that restores true strength and durability. Whether it’s a boat, car, or industrial part, the process is simple—prep, apply cloth with resin, and finish clean.
We offer high-quality fiberglass cloth in various weaves and sizes, ideal for marine, automotive, DIY, or industrial repairs. Contact us for bulk orders, expert advice, or samples.
Connect with an NQ expert to discuss your product needs and get started on your project.
Fiberglass cloth is used to reinforce and repair damaged fiberglass parts—such as boat hulls, car panels, roofing, and storage tanks—by restoring structural strength rather than just filling damage.
Yes. Fillers are mainly cosmetic and prone to cracking under stress. Fiberglass cloth, when properly applied with resin, restores real structural integrity and longevity.
For small cracks or holes, use 2–3 layers of cloth; for larger or load-bearing repairs, go with 4–6 layers. Matching the repair’s thickness and orientation to the original material ensures strength.
Absolutely. Epoxy resin creates a stronger bond and offers superior water resistance compared to polyester resin. It’s ideal for structural or marine repairs.
With thorough surface prep, correct resin mixing, and sufficient curing time, fiberglass cloth repairs can last for many years—even decades—in harsh conditions.
Yes. Once the repair is fully cured and sanded smooth, you can apply primer, paint, or gelcoat to protect it from UV, moisture, and abrasion.
Not necessarily. Kits are convenient for beginners and include resin, cloth, and tools. But professionals often prefer purchasing materials separately for more flexibility.
Yes, as long as the surface is properly prepped (cleaned, abraded, and degreased), fiberglass cloth with resin can securely bond to wood, metal, and even concrete.
Ideally, yes. Matching the original ply orientation and laminate thickness ensures even load distribution and avoids creating stress points that could cause structural failure.
Proper surface preparation—like sanding, cleaning with solvent, and even applying a resin primer—eliminates contaminants and promotes adhesion between old and new layers.