(6)Installing Anti-Crack Mesh on New Plaster
When installing anti-crack mesh on new plaster, proper application is crucial to ensure the mesh functions effectively and prevents fresh plaster cracking or crack in new plaster. The goal is to reinforce the plaster layer to prevent damage and extend the lifespan of the surface. Below are the essential steps for installing anti-crack mesh, including fiberglass mesh and other types like concrete block mesh, to achieve the best results.
1. Proper Surface Preparation
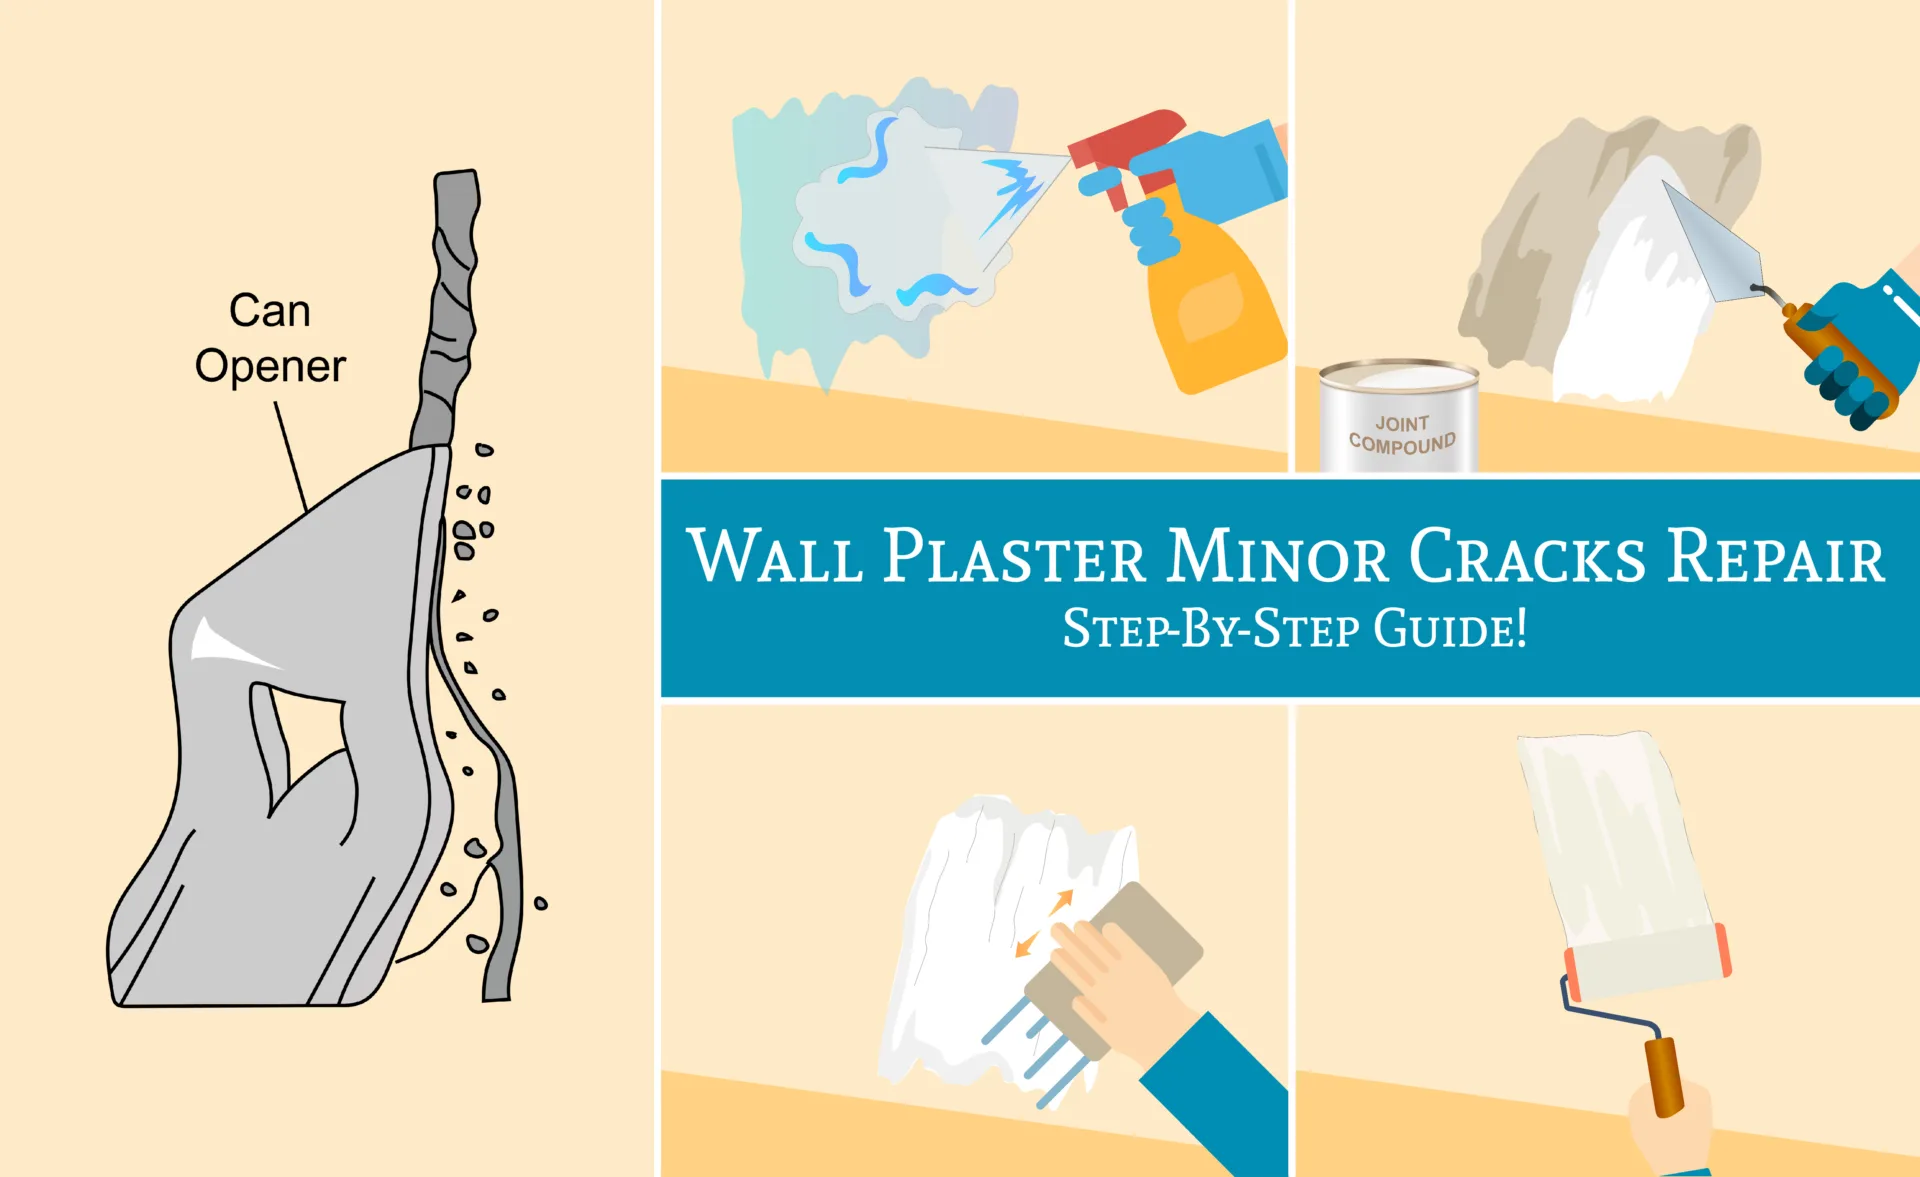
Before applying anti-crack mesh to any plaster surface, whether on masonry, concrete blocks, or drywall, it is important to ensure the surface is clean, dry, and smooth. This preparation allows the mesh to adhere properly and ensures the plaster will bond effectively. Any dust, dirt, or loose debris must be removed, and any moisture or dampness should be addressed to prevent future issues. Ensuring a clean surface is the first step to avoiding crack in new plaster.
2. Applying the Mesh Before Plaster
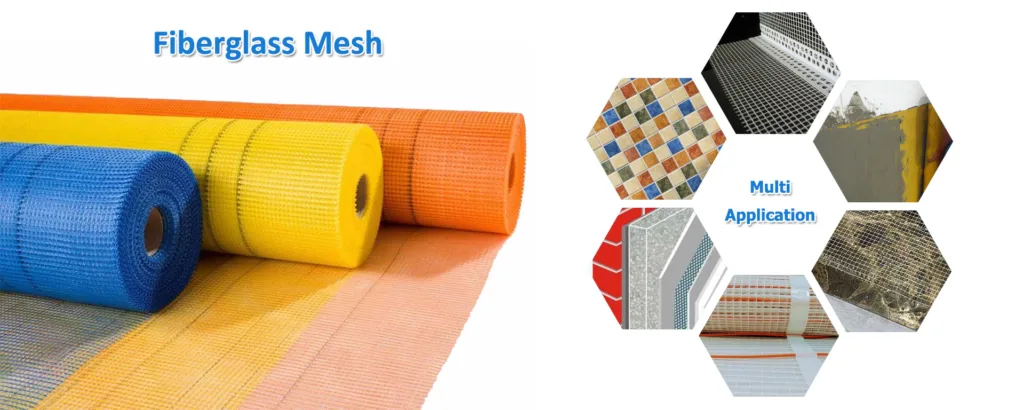
To achieve optimal results, anti-crack mesh should be applied to the surface before the plaster layer is applied. This is a critical step that ensures the mesh will be embedded properly within the plaster, allowing it to reinforce the layer from the start. Whether you’re using fiberglass mesh, steel mesh, or masonry wire mesh, the mesh should be laid out evenly across the surface, ensuring there are no wrinkles or gaps that could lead to uneven plaster distribution.
The mesh should be pressed firmly into place, making sure it adheres to the surface and stays securely in position as the plaster is applied. This ensures that the anti-crack mesh is embedded within the plaster, creating a robust foundation that will help reduce the risk of fresh plaster cracking.
3. Applying the Plaster Layer
Once the anti-crack mesh is in place, a layer of plaster should be applied over the mesh. This plaster layer should be smooth, uniform, and free from air bubbles or imperfections. When spreading the plaster, use a trowel or plastering tool to ensure the mesh is fully covered and the surface is smooth. The mesh will act as a reinforcement, preventing stress points that could lead to cracks in the plaster.
After the first layer is applied, use a smooth tool to level and finish the surface. This will create a seamless finish over the fiberglass mesh or other mesh types, ensuring that the plaster layer is solid and durable.
4. Ensuring a Seamless Finish
The final step is to ensure that the plaster is fully smoothed out, with no visible signs of the mesh underneath. This step is key to achieving an even surface and making sure the anti-crack mesh doesn’t interfere with the final appearance. A smooth, uniform finish will not only enhance the aesthetic appeal of the wall but also maximize the effectiveness of the anti-crack mesh, providing a long-lasting, crack-free plaster surface.
Additional Considerations
For plaster applied to concrete walls or concrete block mesh, it’s essential to understand how to attach wire mesh to concrete walls properly. This technique ensures that the mesh is securely affixed to the surface, providing effective reinforcement for the plaster.
By following these steps and ensuring proper installation of anti-crack mesh, you can prevent fresh plaster cracking, improve the durability of your walls, and create a smooth, aesthetically pleasing plaster surface that stands the test of time.


